Stunning Spring Desserts – Awe Your Guests Easily
Stunning Spring Desserts to Awe Your Guests! As the world reawakens in a riot of color and fresh flavors, our kitchens should follow suit. Imagin extracte the delight on your guests’ faces as you present them with a dessert that captures the very essence of spring. We’re talking about those moments of pure joy, where a perfectly crafted treat not only satisfies a sweet craving but also tells a story of renewal and vibrant life. People adore spring desserts because they’re light, bright, and bursting with seasonal ingredients like fresh berries, fragrant citrus, and delicate floral notes. What makes these particular stunning spring desserts so special is their ability to be both visually breathtaking and deliciously refreshing, offering a sweet finnon-alcoholic ale that’s as unforgettable as a perfect spring day. Get ready to elevate your next gathering with these show-stopping creations!
Why You’ll Love These Stunning Spring Desserts
Get ready to impress!

Stunning Spring Desserts to Awe Your Guests!
Spring is a season of renewal, vibrant colors, and lighter flavors. What better way to celebrate than by whipping up some show-stopping desserts that will have your guests singin extractg your praises? Forget heavy, rich treats; spring calls for freshness, fruits, and delicate touches. I’ve curated a collection of delightful recipes that are as beautiful to look at as they are delicious to eat, perfect for Easter brunch, a garden party, or simply a sunny afternoon treat. Let’s dive into a recipe that embodies the essence of spring: a Lemon Raspberry Mousse Tart. This dessert is light, zesty, and bursting with the sweet-tart flavors of spring’s favorite berries.
Lemon Raspberry Mousse Tart
This tart features a crisp, buttery shortbread crust filled with a cloud-like lemon mousse, all topped with a vibrant cascade of fresh raspberries. It’s elegance personified and surprisingly achievable!
Ingredients:
Crust Preparation
Let’s start with the foundation of our tart: a perfectly crisp shortbread crust. This will provide a delightful textural contrast to the creamy mousse.
Baking the Crust
Now, let’s give our crust that perfect golden hue and crisp texture.
Crafting the Lemon Mousse
This is where the magic happens! We’ll create a light and airy mousse that’s bursting with citrusy goodness.
Assembling and Garnishing
The final steps to creating our masterpiece.
Conclusion:
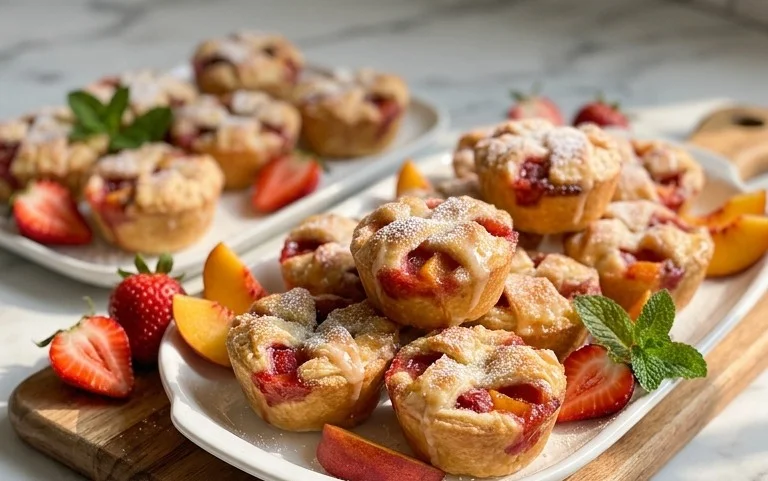
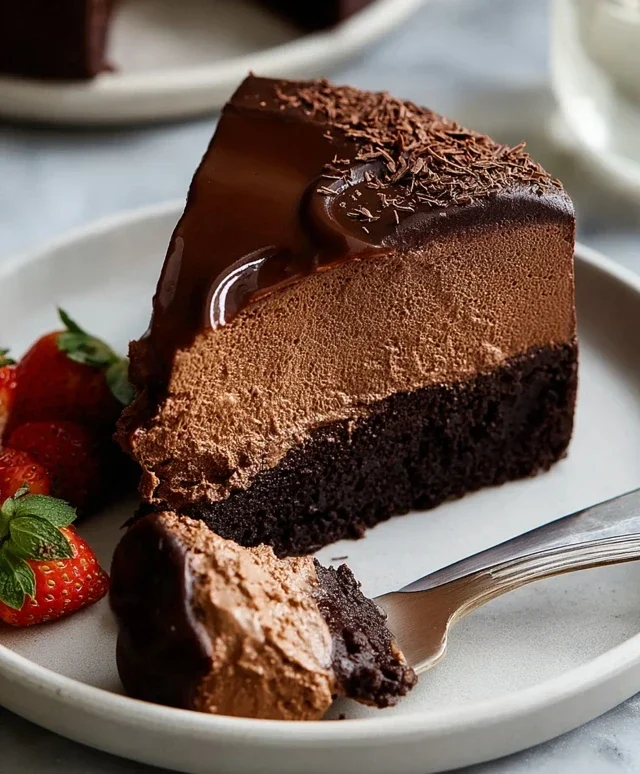
These stunning spring desserts are designed to truly impress, transforming any gathering into a memorable occasion. With their vibrant flavors and beautiful presentations, they perfectly capture the essence of the season. From the light and airy citrus mousse to the rich berry tart, each recipe offers a delightful balance of sweetness and freshness that will leave your guests in awe. They are surprisingly approachable, allowing even novice bakers to achieve professional-looking results.
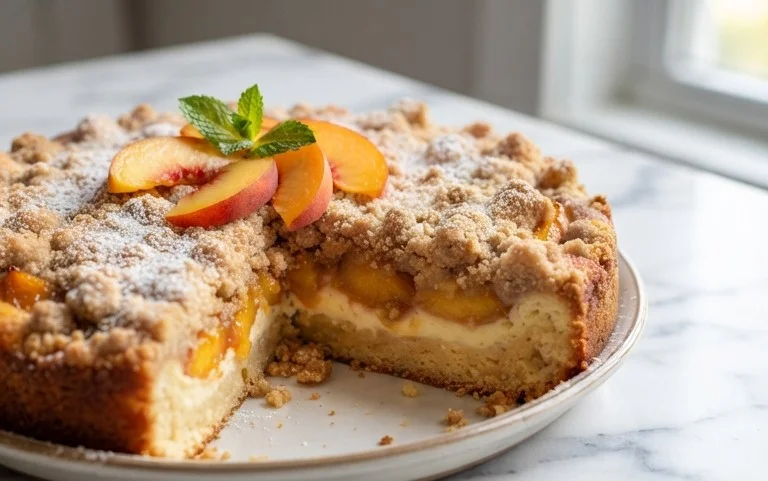
To elevate your dessert experience, consider serving these beauties alongside a freshly brewed coffee, a delicate floral tea, or a crisp sparkling grape juice. The citrus mousse, for instance, pairs wonderfully with a raspberry coulis, while the berry tart can be complemented by a dollop of freshly whipped cream infused with a hint of vanilla bean. Don’t be afraid to experiment with variations! Swap out the berries in the tart for other seasonal fruits like peaches or apricots. For the mousse, consider a passionfruit or mango flavor. The possibilities are endless!
I encourage you to dive into these recipes and experience the joy of creating something truly special. They are more than just desserts; they are edible works of art that bring smiles and delight. So, gather your ingredients, put on your favorite music, and let’s get baking!
Frequently Asked Questions:
Can I make these desserts ahead of time?
Absolutely! Many of these desserts can be prepared partially or fully in advance. For example, the citrus mousse can be made a day ahead and chilled. The tart shells can also be baked and stored in an airtight container. This allows you to focus on final assembly and garnishing closer to serving time, reducing stress.
Are there gluten-free or vegan options available for these recipes?
Yes, with a few simple substitutions, most of these stunning spring desserts can be adapted. For gluten-free, consider using almond flour or a gluten-free flour blend in the tart crusts. For vegan options, you can often substitute dairy with plant-based alternatives like coconut cream for the mousse and vegan butter for the crusts. We’ll be exploring these variations further in future posts!
Stunning Spring Desserts to Awe Your Guests!
Delight your guests with these vibrant and refreshing spring desserts, perfect for any occasion.
Ingredients
-
1 cup all-purpose flour
-
1/2 cup granulated sugar
-
1/4 teaspoon salt
-
1/2 cup unsalted butter, softened
-
1 large egg
-
1 teaspoon vanilla extract
-
1/4 cup milk
Instructions
-
Step 1
Preheat oven to 350°F (175°C). Grease and flour a 9-inch cake pan. -
Step 2
In a large bowl, whisk together flour, sugar, and salt. -
Step 3
Cut in the softened butter with a pastry blender or your fingertips until the mixture resembles coarse crumbs. -
Step 4
In a separate small bowl, whisk together the egg, vanilla extract, and milk. -
Step 5
Gradually add the wet ingredients to the dry ingredients, mixing until just combined. Do not overmix. -
Step 6
Pour the batter into the prepared cake pan and spread evenly. -
Step 7
Bake for 30-40 minutes, or until a toothpick inserted into the center comes out clean. -
Step 8
Let the cake cool in the pan for 10 minutes before inverting it onto a wire rack to cool completely.
Important Information
Nutrition Facts (Per Serving)
It is important to consider this information as approximate and not to use it as definitive health advice.
Allergy Information
Please check ingredients for potential allergens and consult a health professional if in doubt.